How to use Pliers
How to Use Basic Snap Pliers
Basic snap pliers are a handy, affordable option for applying plastic snap fasteners to your sewing and craft projects. They're suitable for occasional use and smaller projects.
Follow the simple steps below to learn how to prepare your fabric, position your snaps and apply them correctly using your basic pliers.
Before you start: Basic pliers are designed for plastic snaps only, they are not compatible with professional press dies. If you're using a professional press, please refer to our press instructions instead.
Step 1: Get to Know Your Snaps
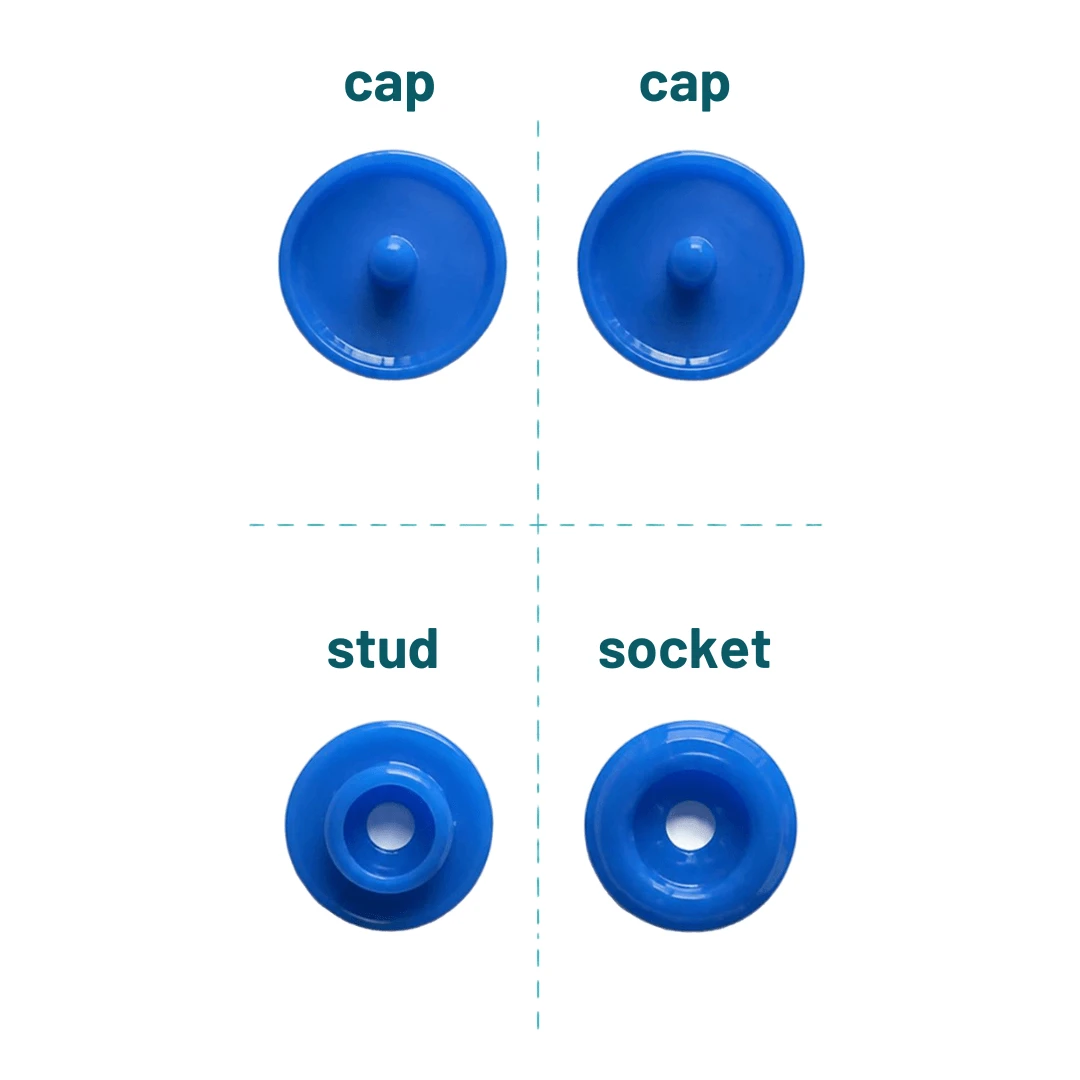
Each plastic snap fastening consists of four pieces: two caps, one socket and one stud.
The socket and stud fit together to create the snap fastening.
- Caps: The outer pieces with prongs that pass through your fabric.
- Socket: The female part of the snap, which fits over the prong of one cap.
- Stud: The male part of the snap, which fits over the prong of the other cap.
Step 2: Prepare Your Fabric
Decide where you'd like your snap to go and mark the position on your fabric.
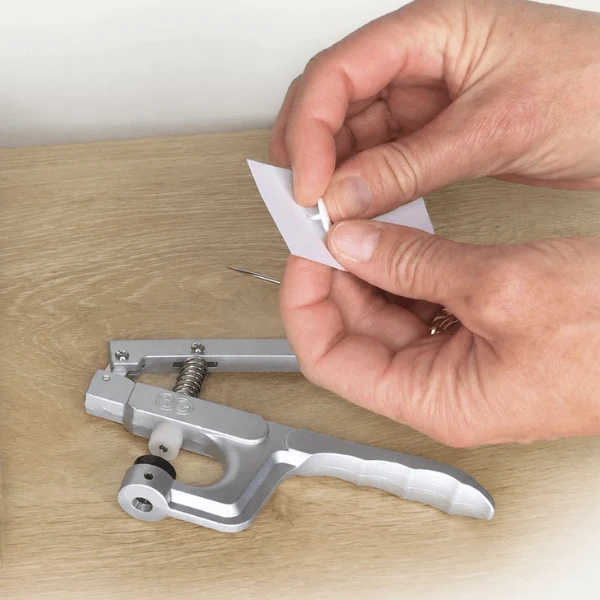
Using an awl, carefully make a small hole through the fabric (an awl isn't always necesseary, sometimes the spike of the snap will be enough to poke through). The hole should be just large enough for the cap's prong to pass through.
The smooth, rounded side of the cap should remain visible on the outside, with the prong pointing through to the other side.
Helpful tip: Always test your snaps on a scrap piece of fabric first, particularly when working with thin or stretchy materials. Reinforcing the fabric may help prevent the snap from pulling through.
Step 3: Position and Press Your Snap
With the socket or stud positioned over the cap's prong, you're ready to secure the snap using your basic pliers.
Position the snap: Place the snap cap into the die, with the socket or stud facing the upper die. Make sure everything is centred and correctly aligned.
Squeeze firmly: Squeeze the handles firmly to flatten the cap's prong. Release the pliers and check that the snap is securely attached.
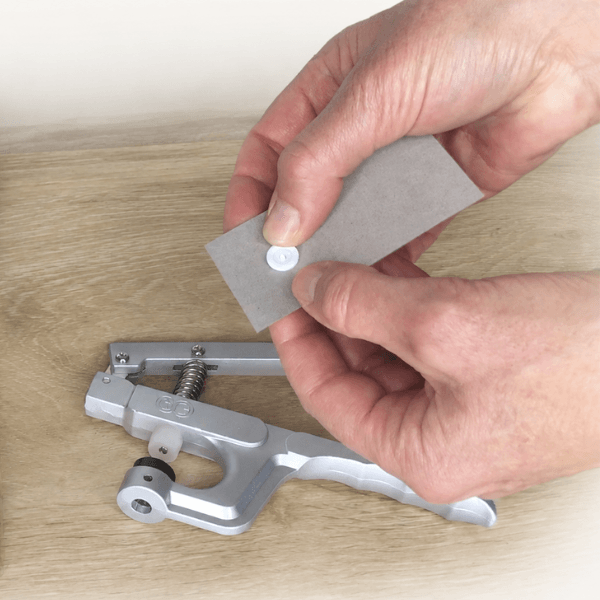
Helpful tip: Make sure the snap is centred in the pliers before squeezing. An incorrectly positioned snap can result in an unevenly flattened prong or a snap that doesn't fasten properly.
Step 4: Repeat for the Other Side
Now it's time to attach the other half of your snap fastening.
Insert the remaining cap: Make a small hole in the corresponding position on your fabric and push another cap through.
Add the opposite snap piece: If you used a socket for the first half, use a stud for the second half (or vice versa).
Press and check: Position the snap in your pliers and squeeze firmly, just as you did in Step 3.
Once both halves are attached, press the socket and stud together. They should click securely into place and separate with a firm pull.
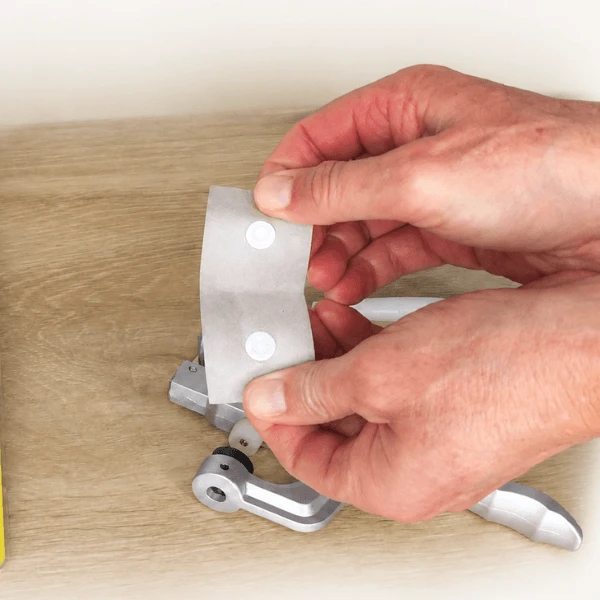
Helpful tip: Before pressing the second half, double-check that the socket and stud are facing the correct way so they'll connect when your fabric is folded or closed.
Watch the Video
Prefer to see it in action? Watch our step-by-step video showing how to apply plastic snaps using basic snap pliers.