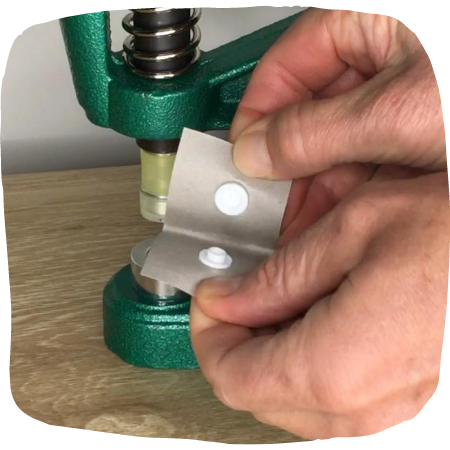
Instructions - Table Press DK93
Instructions for the TABLE Press Machine DK93 from KAM
How to apply plastic snaps with Pro-dies:
Applying plastic snaps with NO-CHANGE Dies:
How to Assemble and Use a TABLE Snap Press Machine DK93
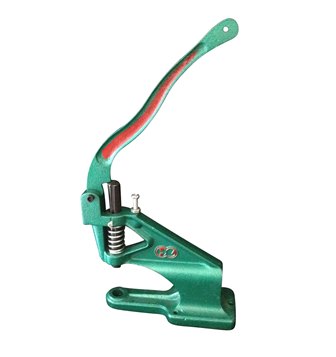
Step 1: Position handle and tighten bolt
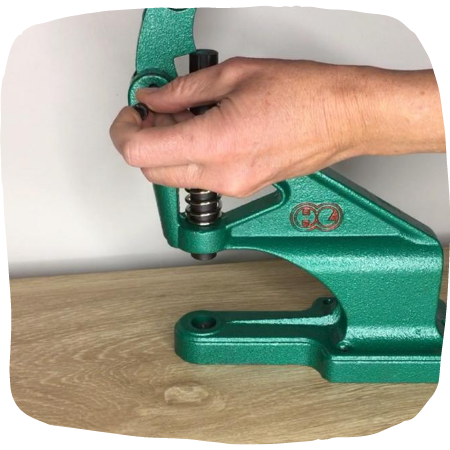
Step 2: Get to know your dies...
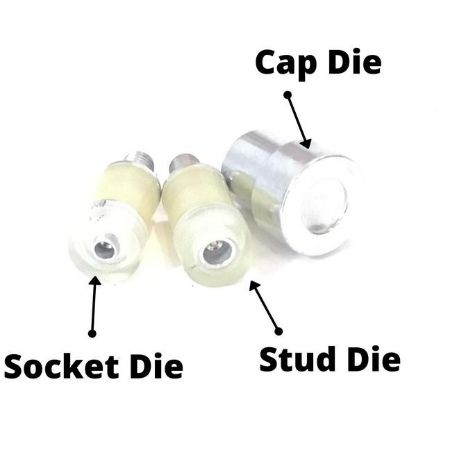
Each size snap (ie size 20 or 16) needs a specific die set. The same machine is used, just change the dies.
The Die Set includes three parts: Cap, Socket and Stud die.
A set of snaps has 4 pieces which divide into two parts. One half is the socket/female (with a cap/spiky bit), the other is the stud/male (again, with a cap/spiky bit)... hence a set has double the number of caps/spiky bits.
Rest assured it makes total sense when you get started!
Position cap die in the bottom hole of snap press. The cap die is the solid metal one with a curved top.
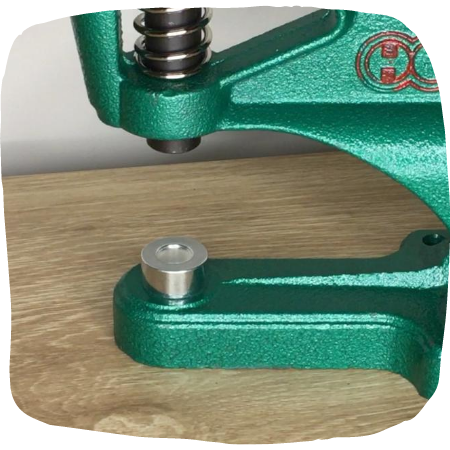

Step 2: Get to know your dies...

Each size snap (ie size 20 or 16) needs a specific die set. The same machine is used, just change the dies.
The Die Set includes three parts: Cap, Socket and Stud die.
A set of snaps has 4 pieces which divide into two parts. One half is the socket/female (with a cap/spiky bit), the other is the stud/male (again, with a cap/spiky bit)... hence a set has double the number of caps/spiky bits.
Rest assured it makes total sense when you get started!
Position cap die in the bottom hole of snap press. The cap die is the solid metal one with a curved top.

Position top die (it screws in place)
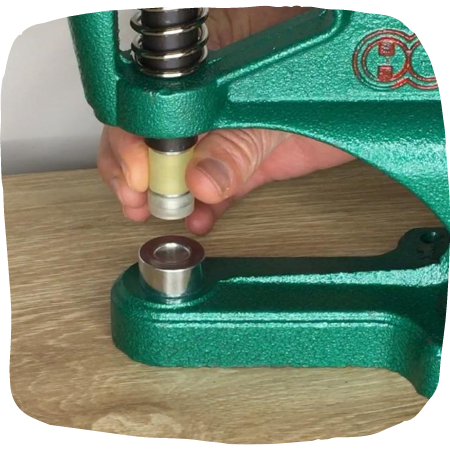
Step 3: Insert snaps and "press".
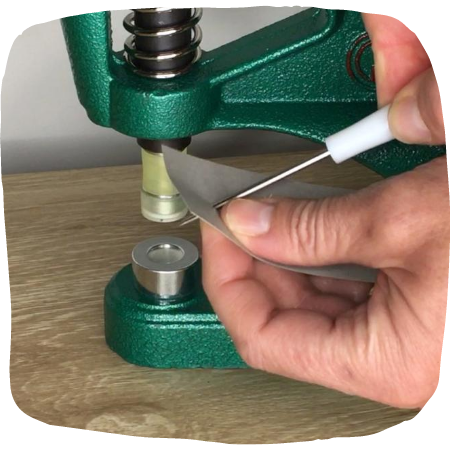
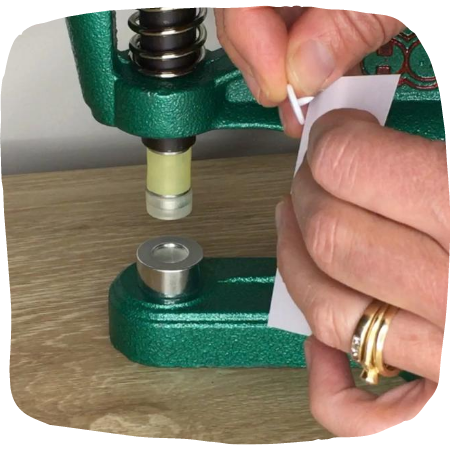
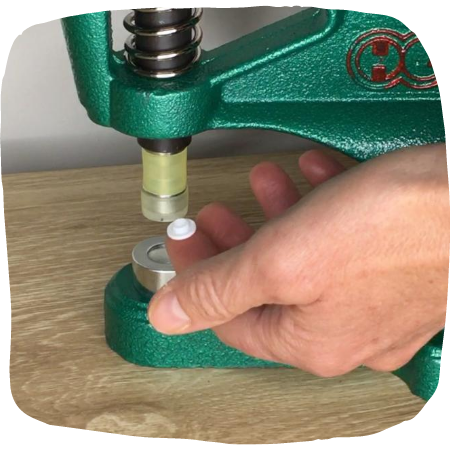
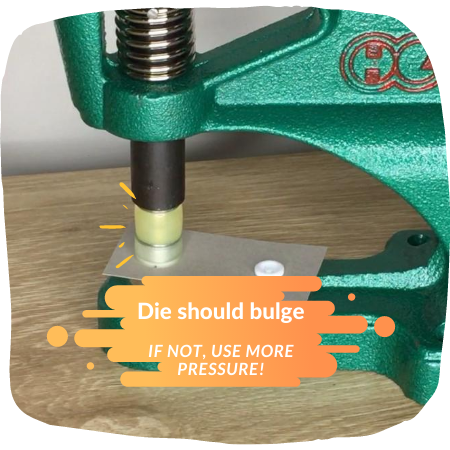

Step 3: Insert snaps and "press".


Step 4: Change the top die and repeat for the other side.
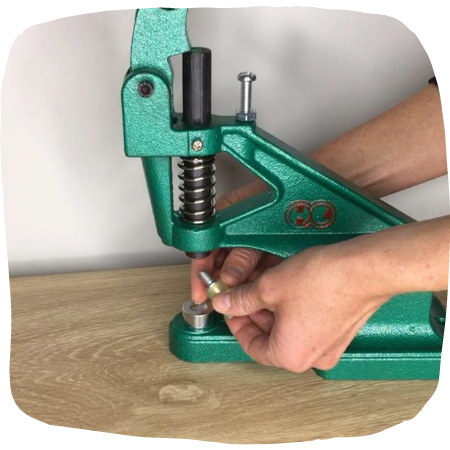
Step 5: A completed snap.....!
